First Steps
Poweradmin is installed and you can reach it in a browser. This page takes you from there to a working zone that PowerDNS is answering for. It should take a few minutes.
If you have not installed anything yet, start with Installation - or with the Docker Demo if you only want to look around.
1. Sign in
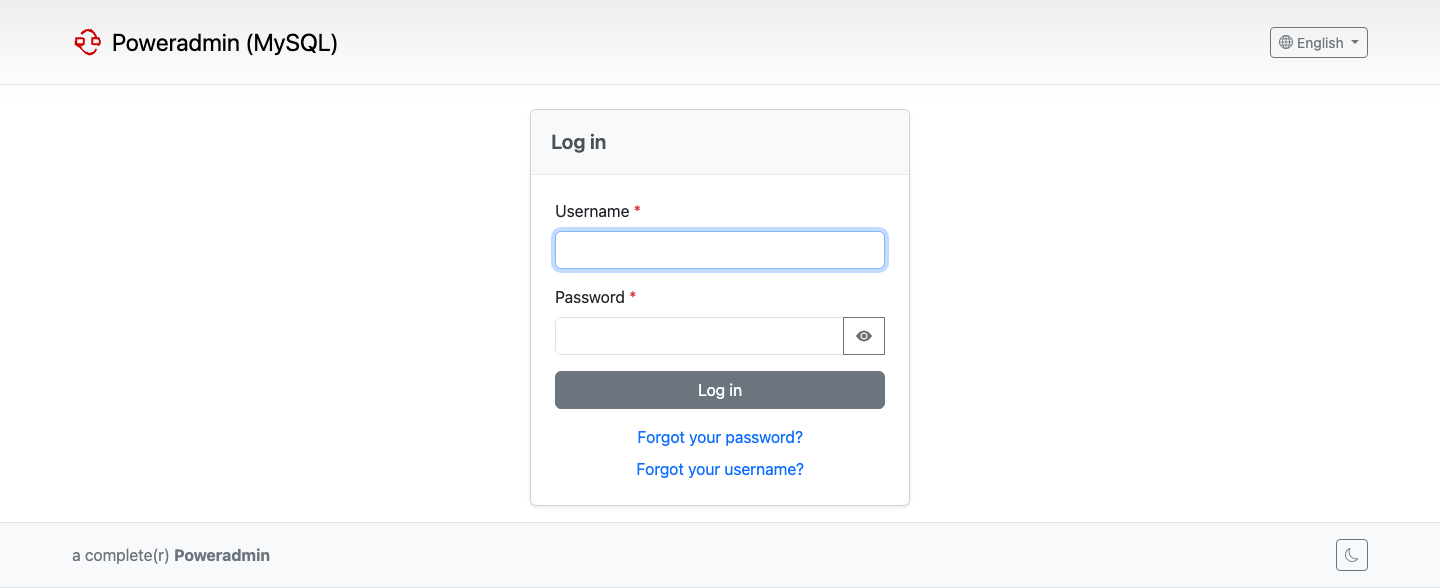
Go to /login. The first account is admin, with the password you chose during the
installation wizard. A Docker demo install uses the credentials printed
by the container instead.
If the password is lost, it can be reset directly in the database - see Reset Admin Password.
Note: The
adminaccount is an uberuser: it bypasses every permission check. Create ordinary accounts for day-to-day work rather than sharing it. See Users and Roles.
2. Get your bearings
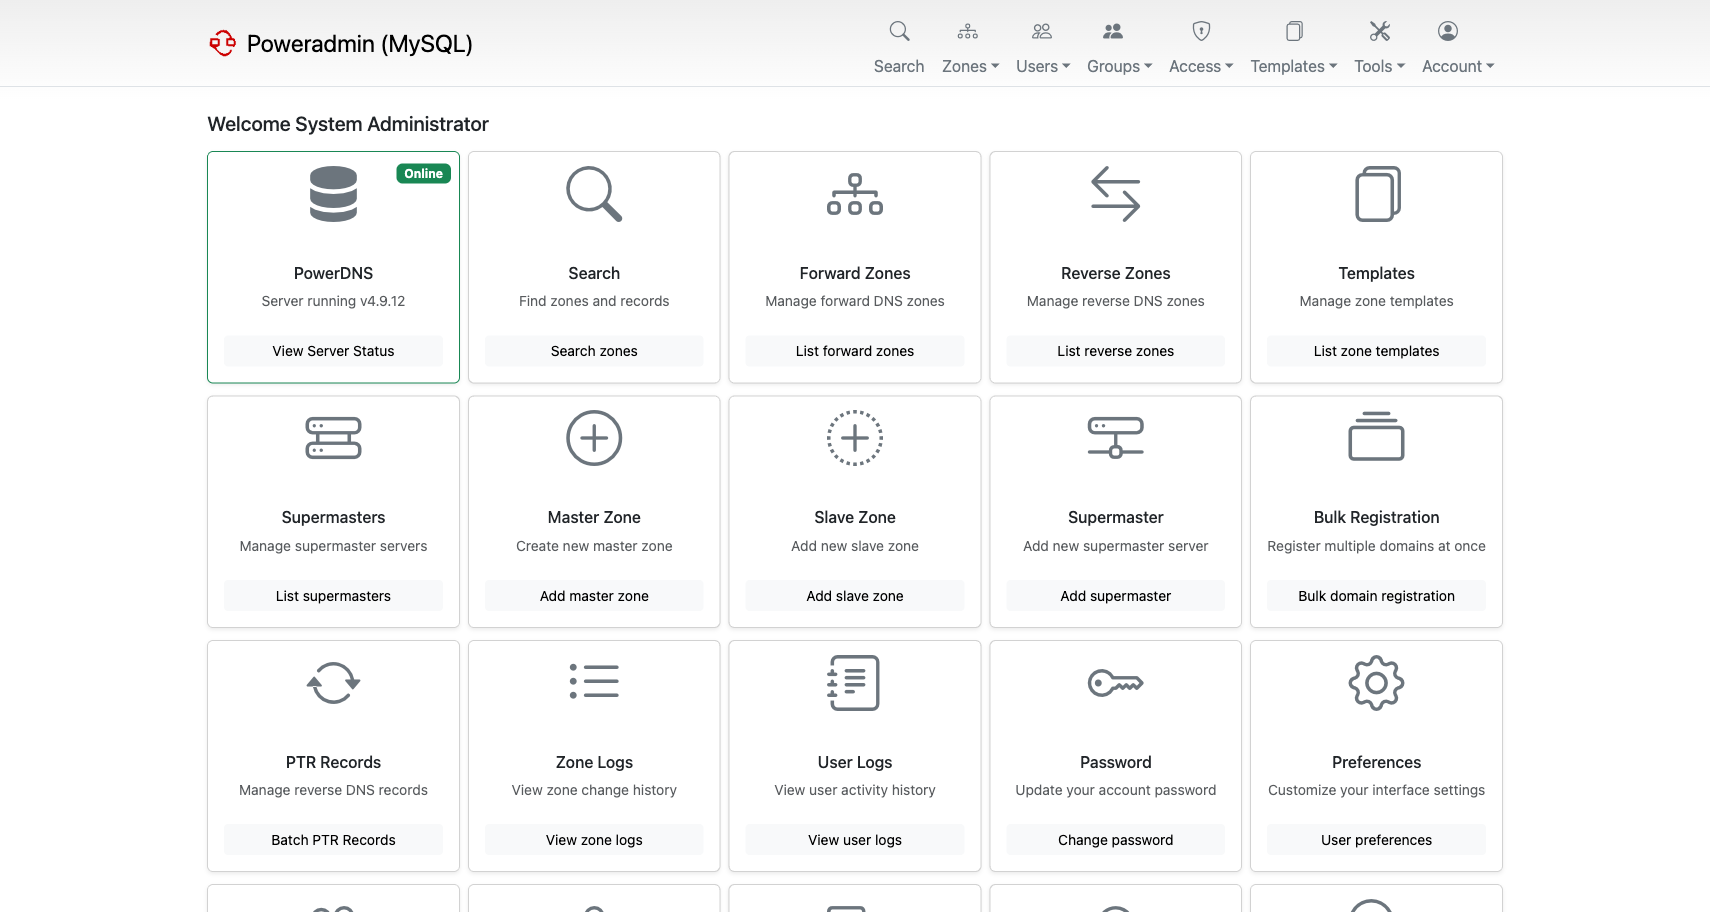
The dashboard is the hub. What appears here depends on your permissions and on which features are
enabled, so an ordinary user sees fewer cards than admin does.
The parts you will use immediately:
- Zones - list, search and edit your zones
- Add master zone - create a zone this server is authoritative for
- Administration - users, groups, permission templates, and the logs
3. Set your DNS defaults first
Worth doing before you create anything. Poweradmin stamps new zones with the hostmaster address and nameservers from your configuration, and fixing those afterwards means editing every zone you have already made.
Set dns.hostmaster, dns.ns1 and dns.ns2 in config/settings.php - see
DNS Settings.
4. Create your first zone
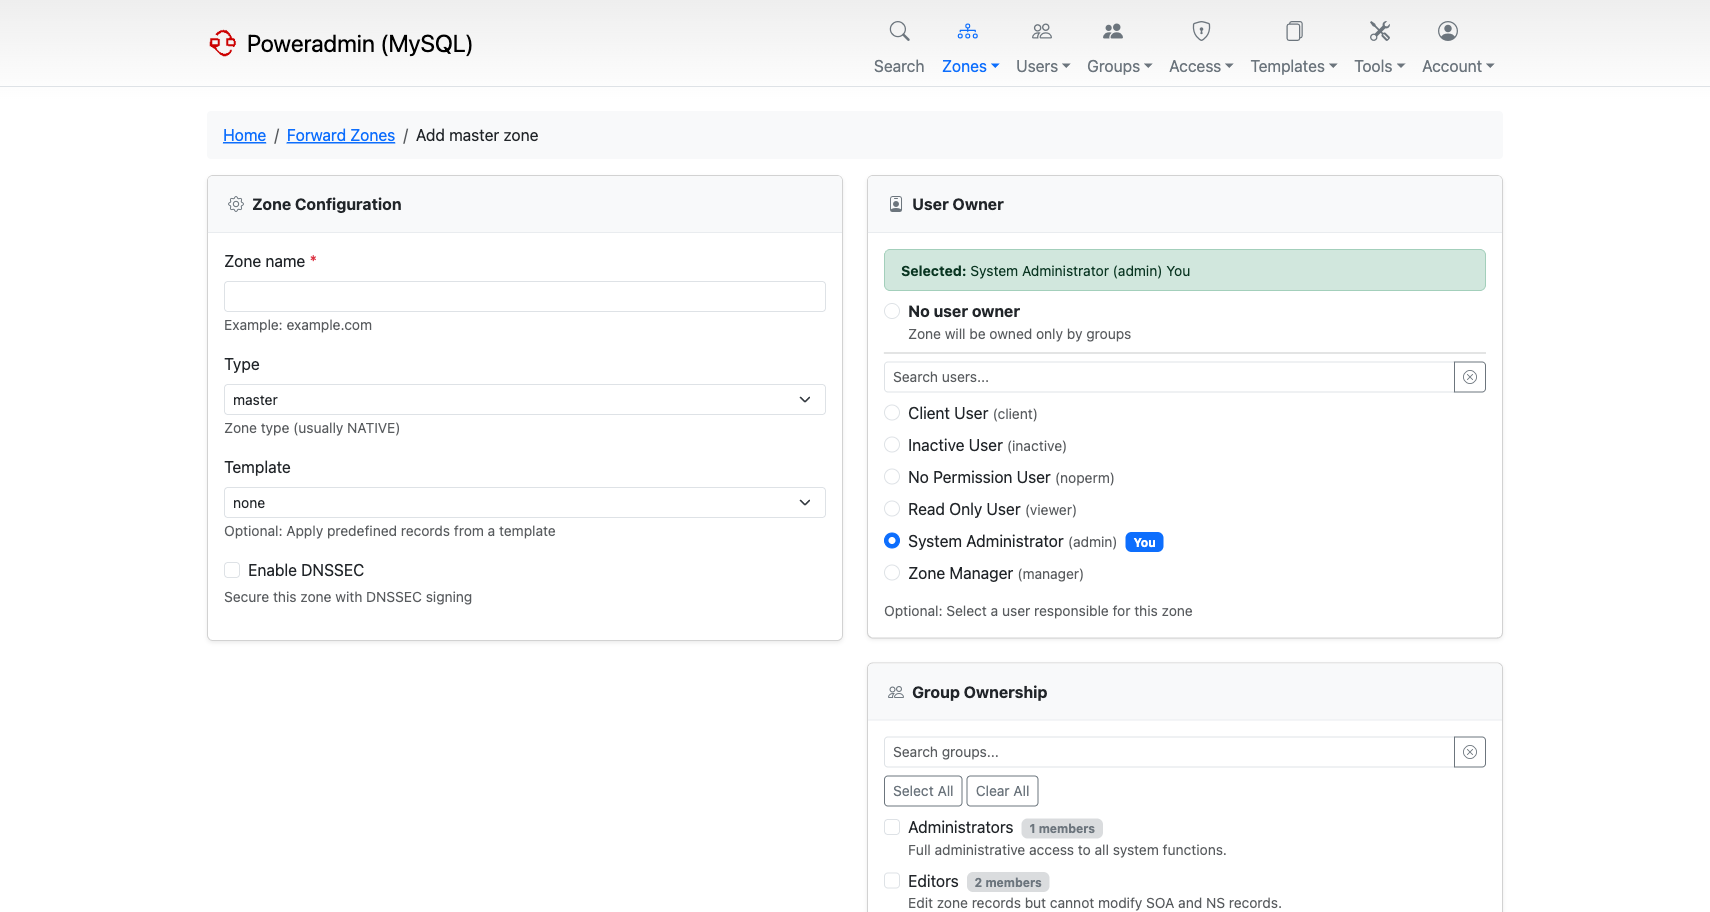
From Zones, choose Add master zone, enter a zone name such as example.com, pick an owner,
and submit. Leave the template empty for now.
You get a zone containing a SOA record built from your DNS defaults. Nameserver records come from a template, so a zone created without one has none yet - which is what step 5 fixes.
For secondary zones, catalog zones and the other kinds, see Zone Management.
5. Add records
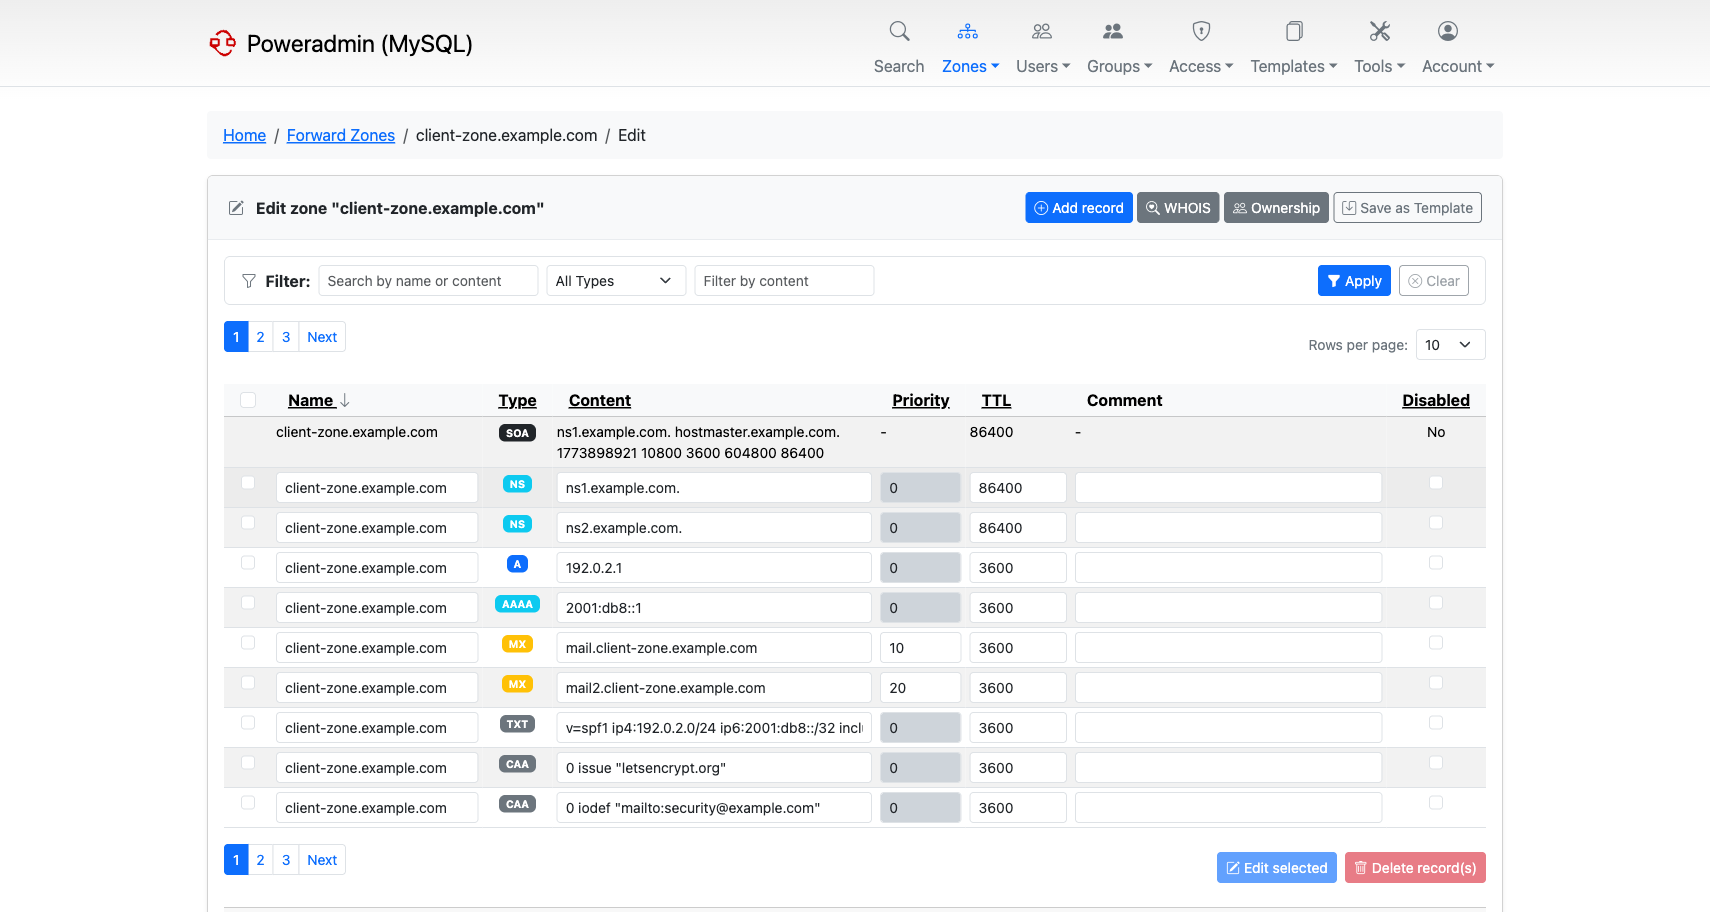
Open the zone to reach the editor. Add the records the zone needs - at minimum the NS records for your nameservers, then an A record or two:
| Name | Type | Content |
|---|---|---|
example.com |
NS | ns1.example.com |
example.com |
NS | ns2.example.com |
www.example.com |
A | 192.0.2.10 |
Poweradmin validates each record as you save it, so a malformed value is refused rather than written and left for PowerDNS to reject later.
Then confirm PowerDNS is actually serving it:
If the query returns nothing, the problem is almost always that PowerDNS is not reading the database Poweradmin wrote to. Debugging covers how to tell.
6. Stop using the admin account
Create a real account for yourself and for anyone else who needs access, and give each one only the permissions their job needs. Poweradmin's permission model is per-user and reasonably fine-grained, including a client-level role that can edit records but not the zone's authority or delegation.
Start at Users and Roles and Permissions.
Where to go next
Once the basics work, these are the things most installs want:
- DNS Templates - stop retyping the same NS and MX records for every zone
- Reverse DNS - PTR records, including creating them automatically alongside A and AAAA records
- DNSSEC - sign your zones
- Multi-Factor Authentication - worth enabling before the tool holds anything you care about
- PowerDNS API - required for DNSSEC, and for running Poweradmin without database access to PowerDNS